World Machine 2
Texturing a terrain
Terrains are easy to make in WM, but to give them a texture is slightly more difficult.
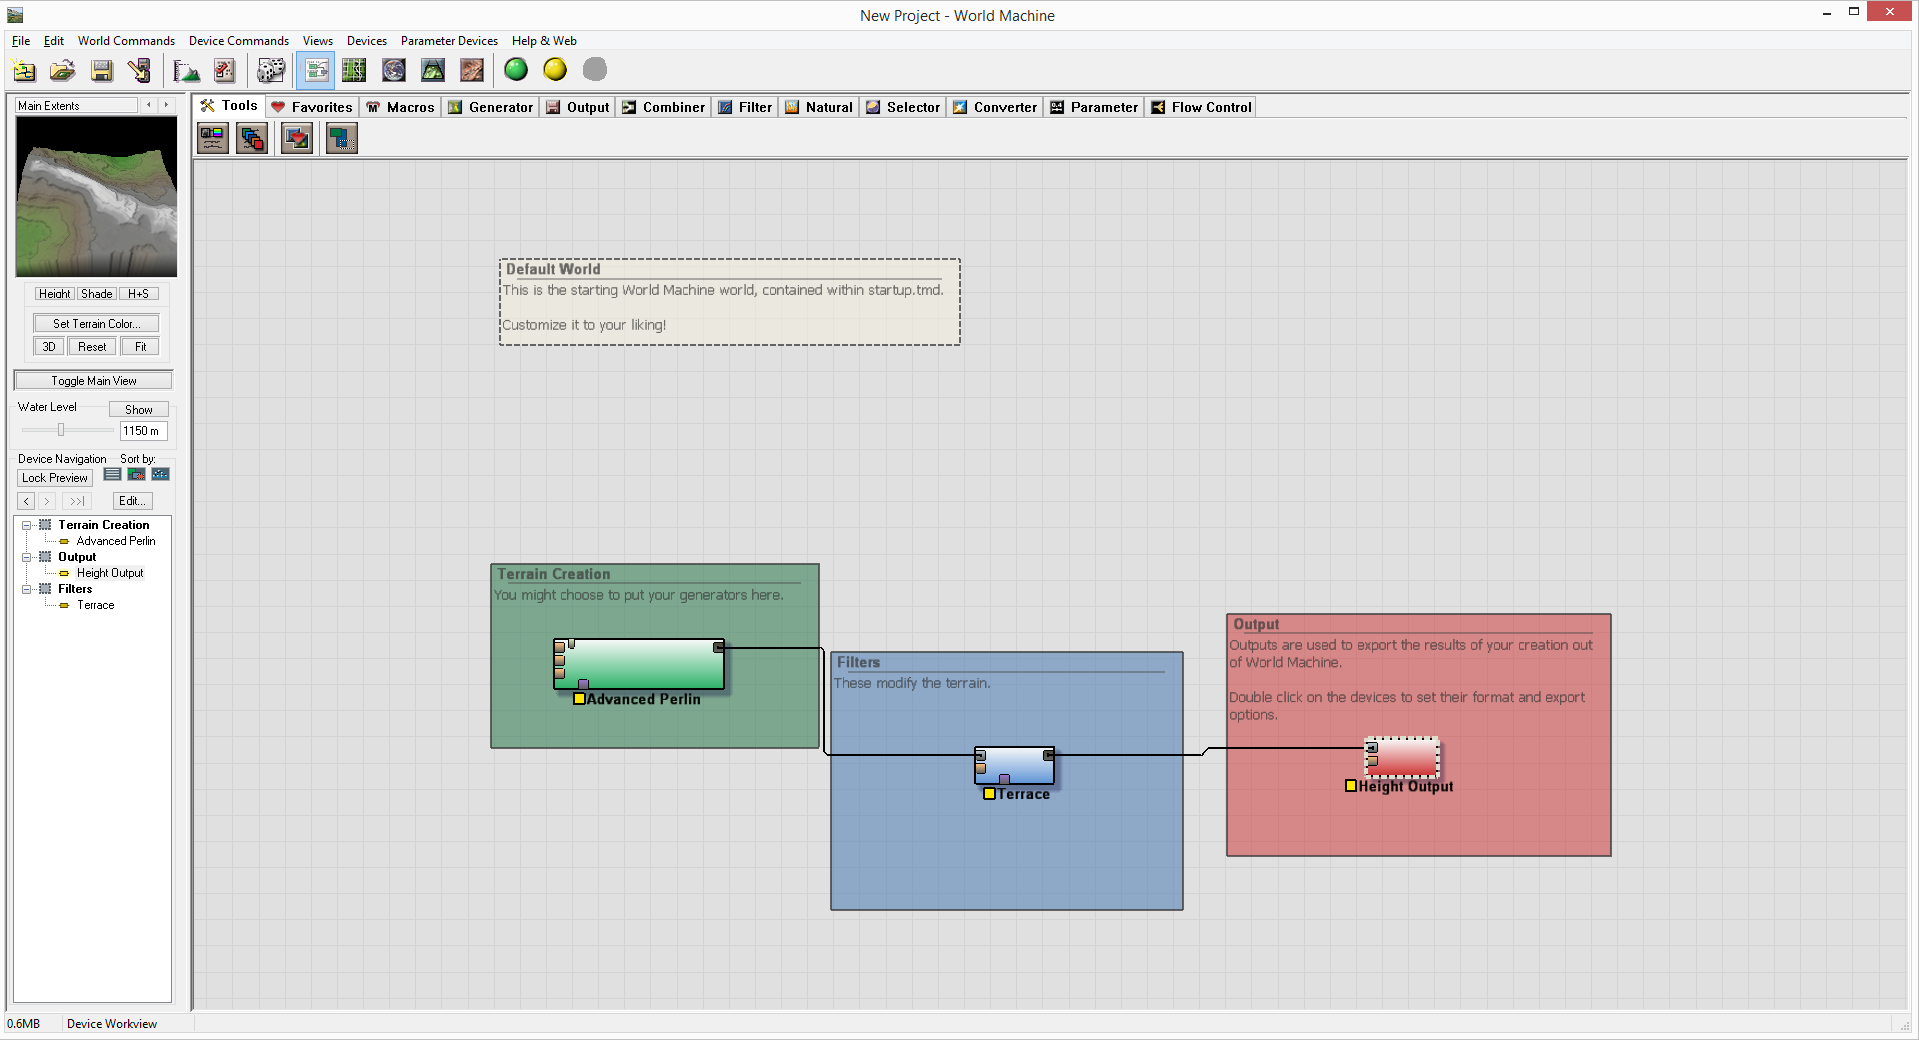
Open up WM and remove the terrace and add Erosion
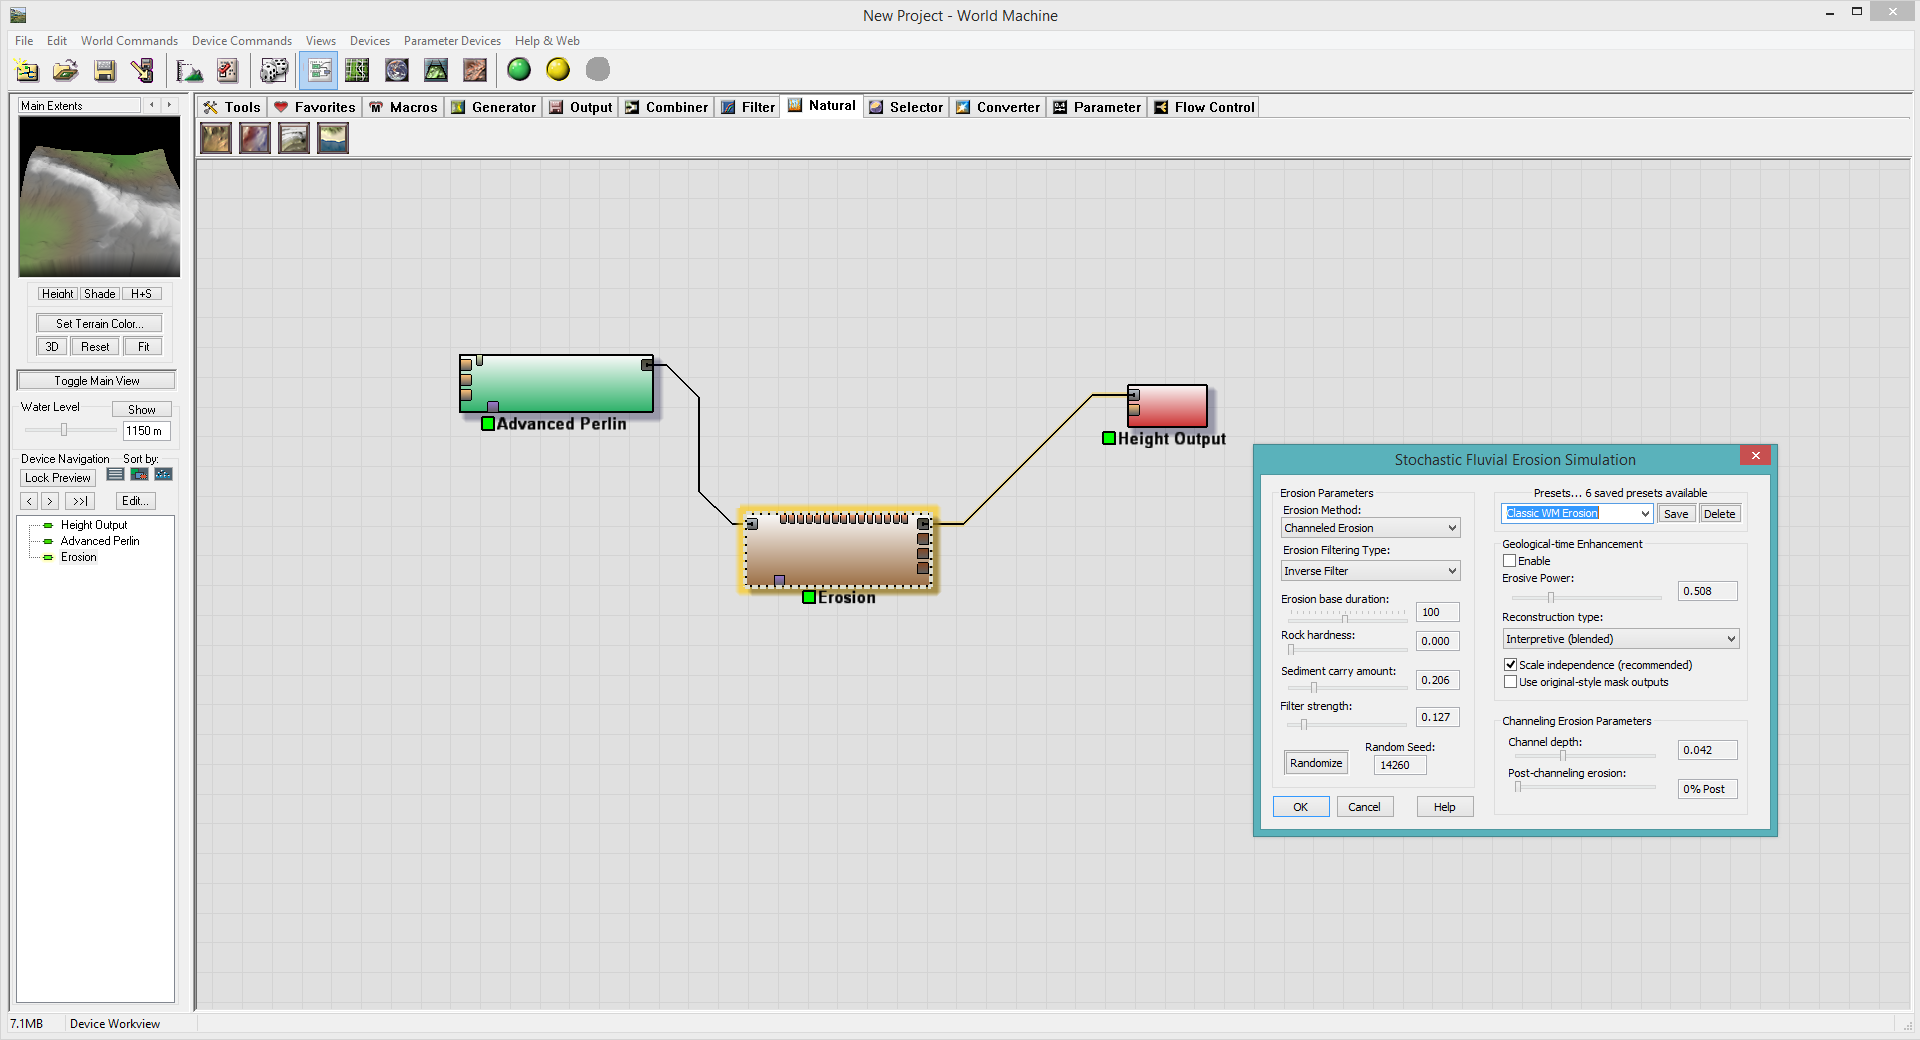
Use the Classic WM Erosion setting for best results

Use the Coastal Overlay Macro to create a texure. (Note: This macro is used to output different types of maps)
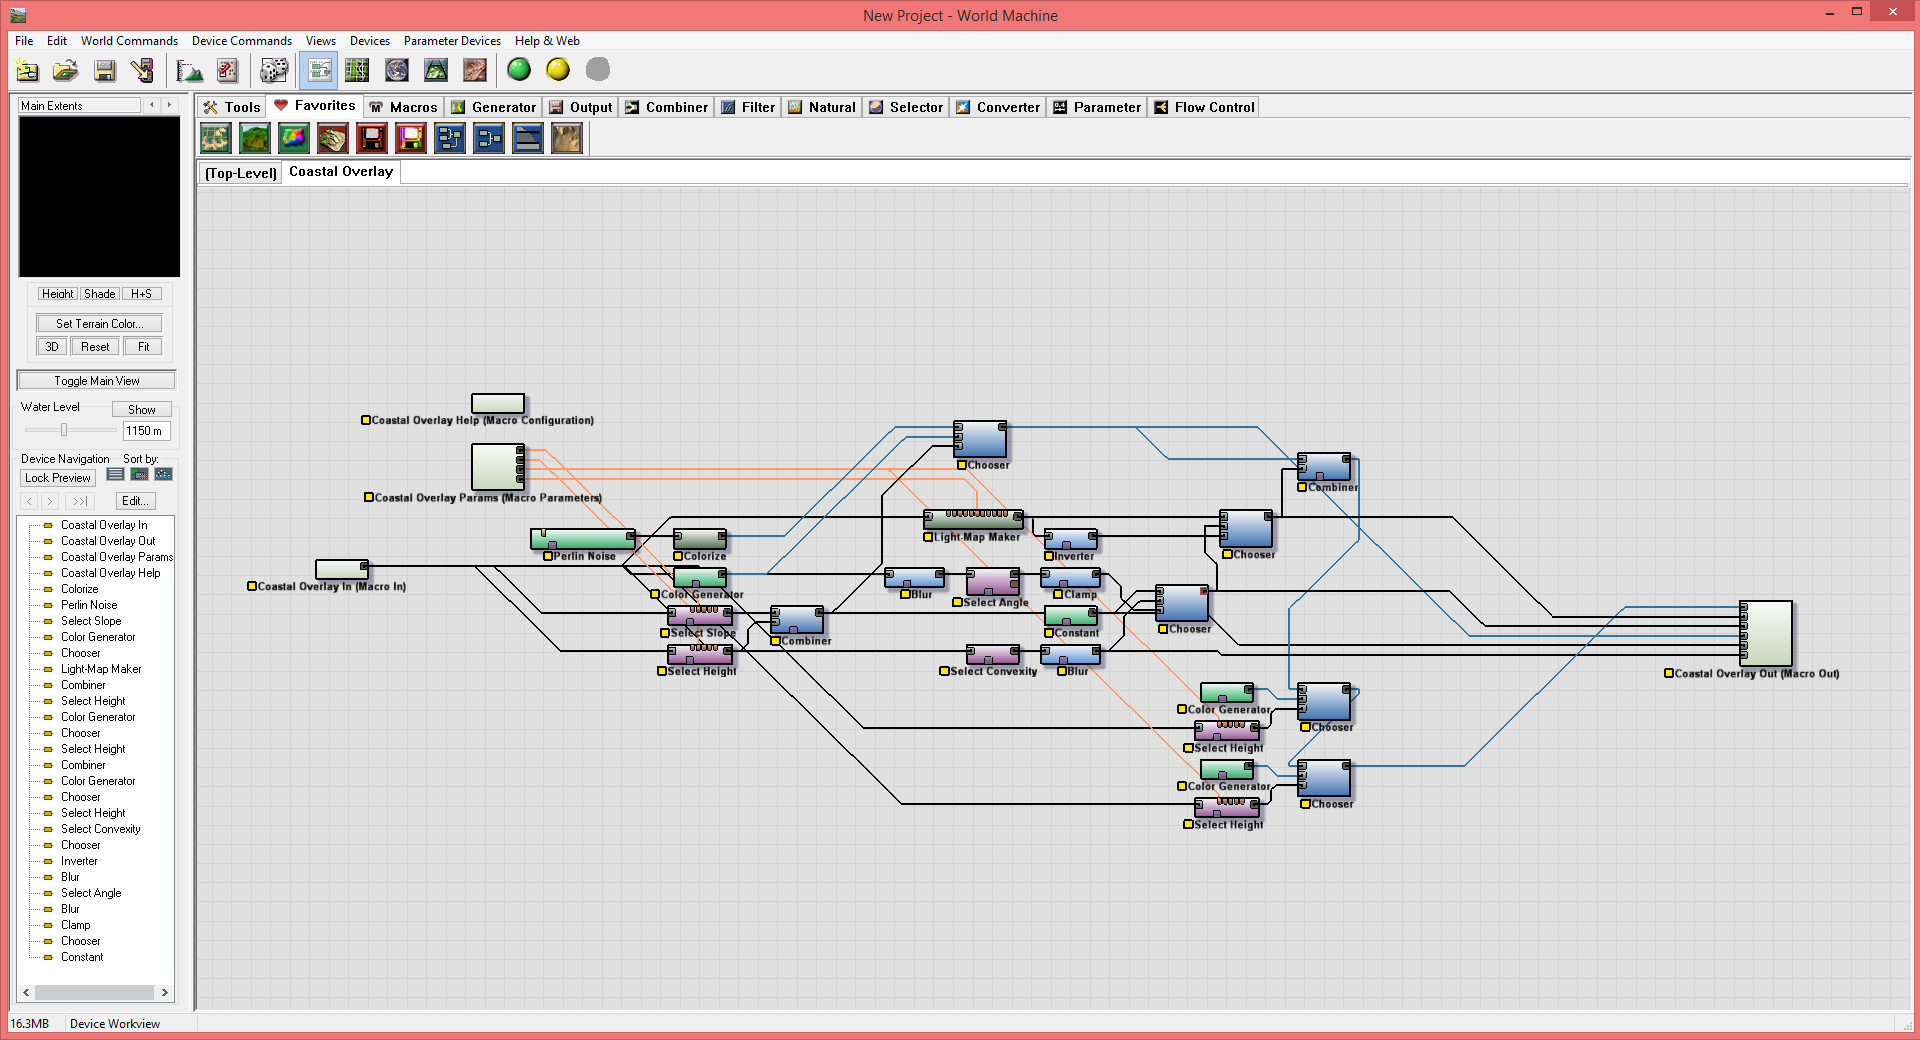
This is what the macro looks like when you enter it.
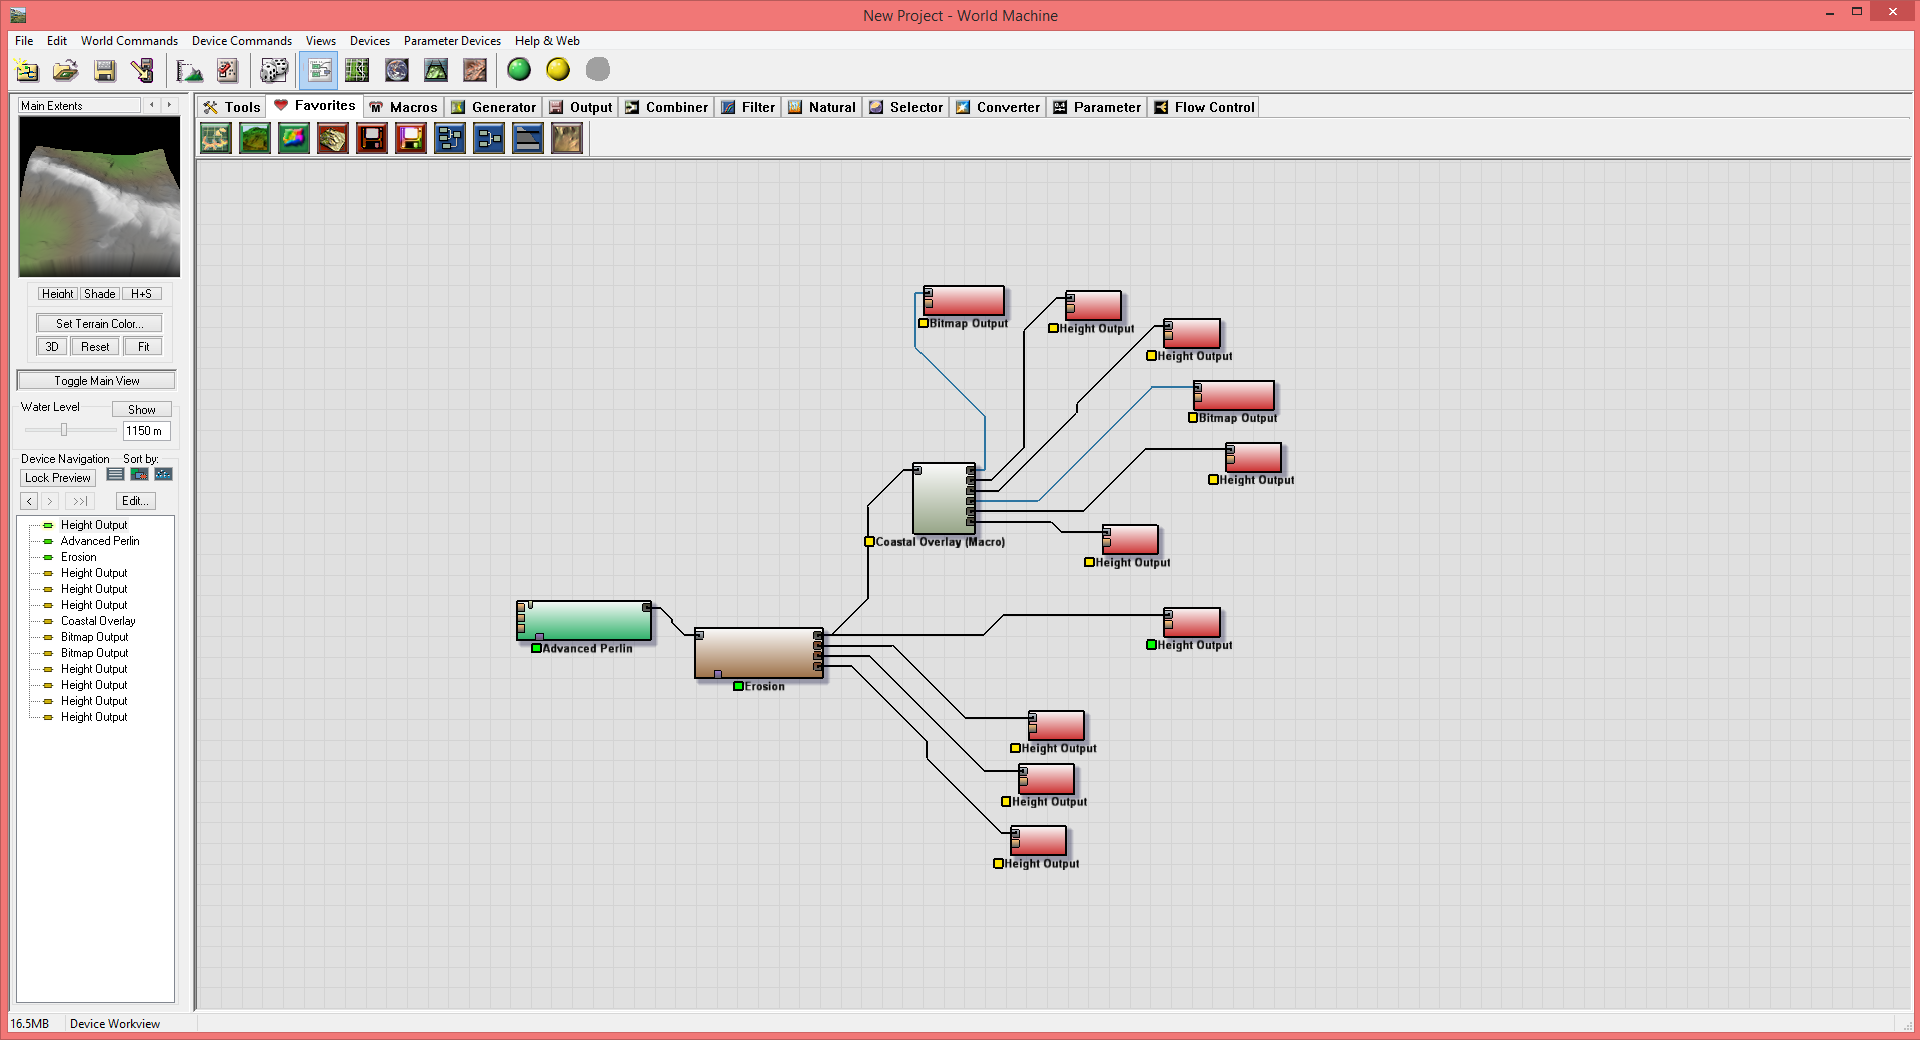
Add Bitmap and Heightmap file outputs. Use PNGs and name according to what it is. (Note: Check off output on every build to create the files by just building)
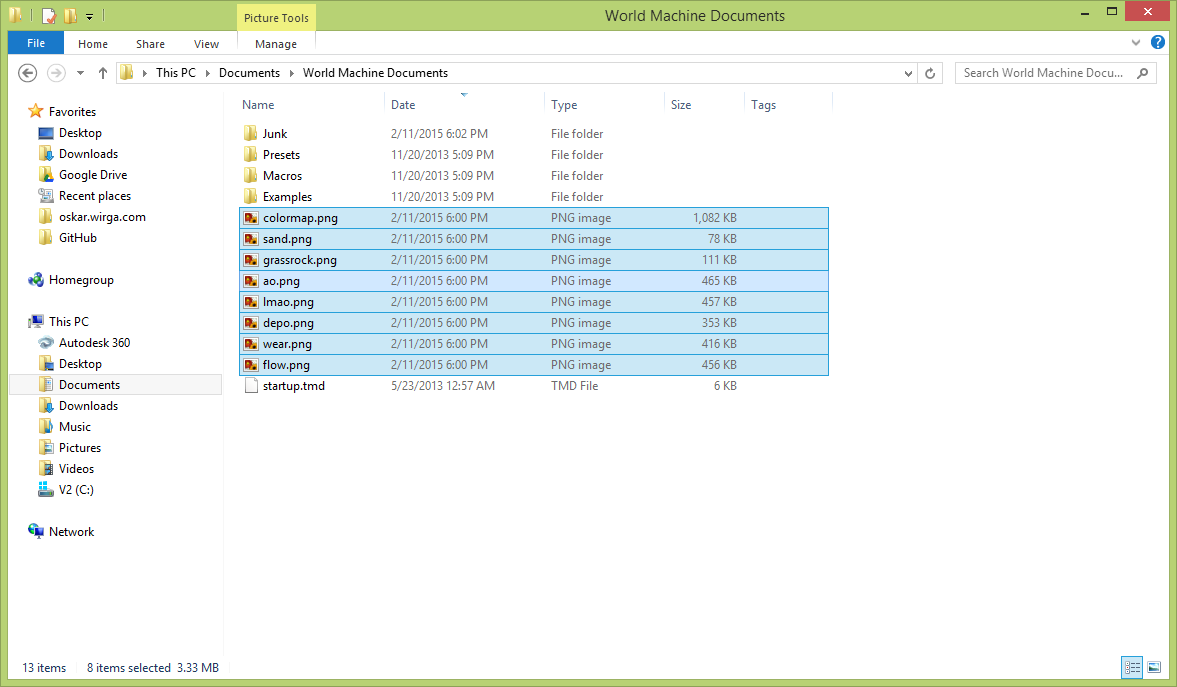
Edit all the output files using GIMP.
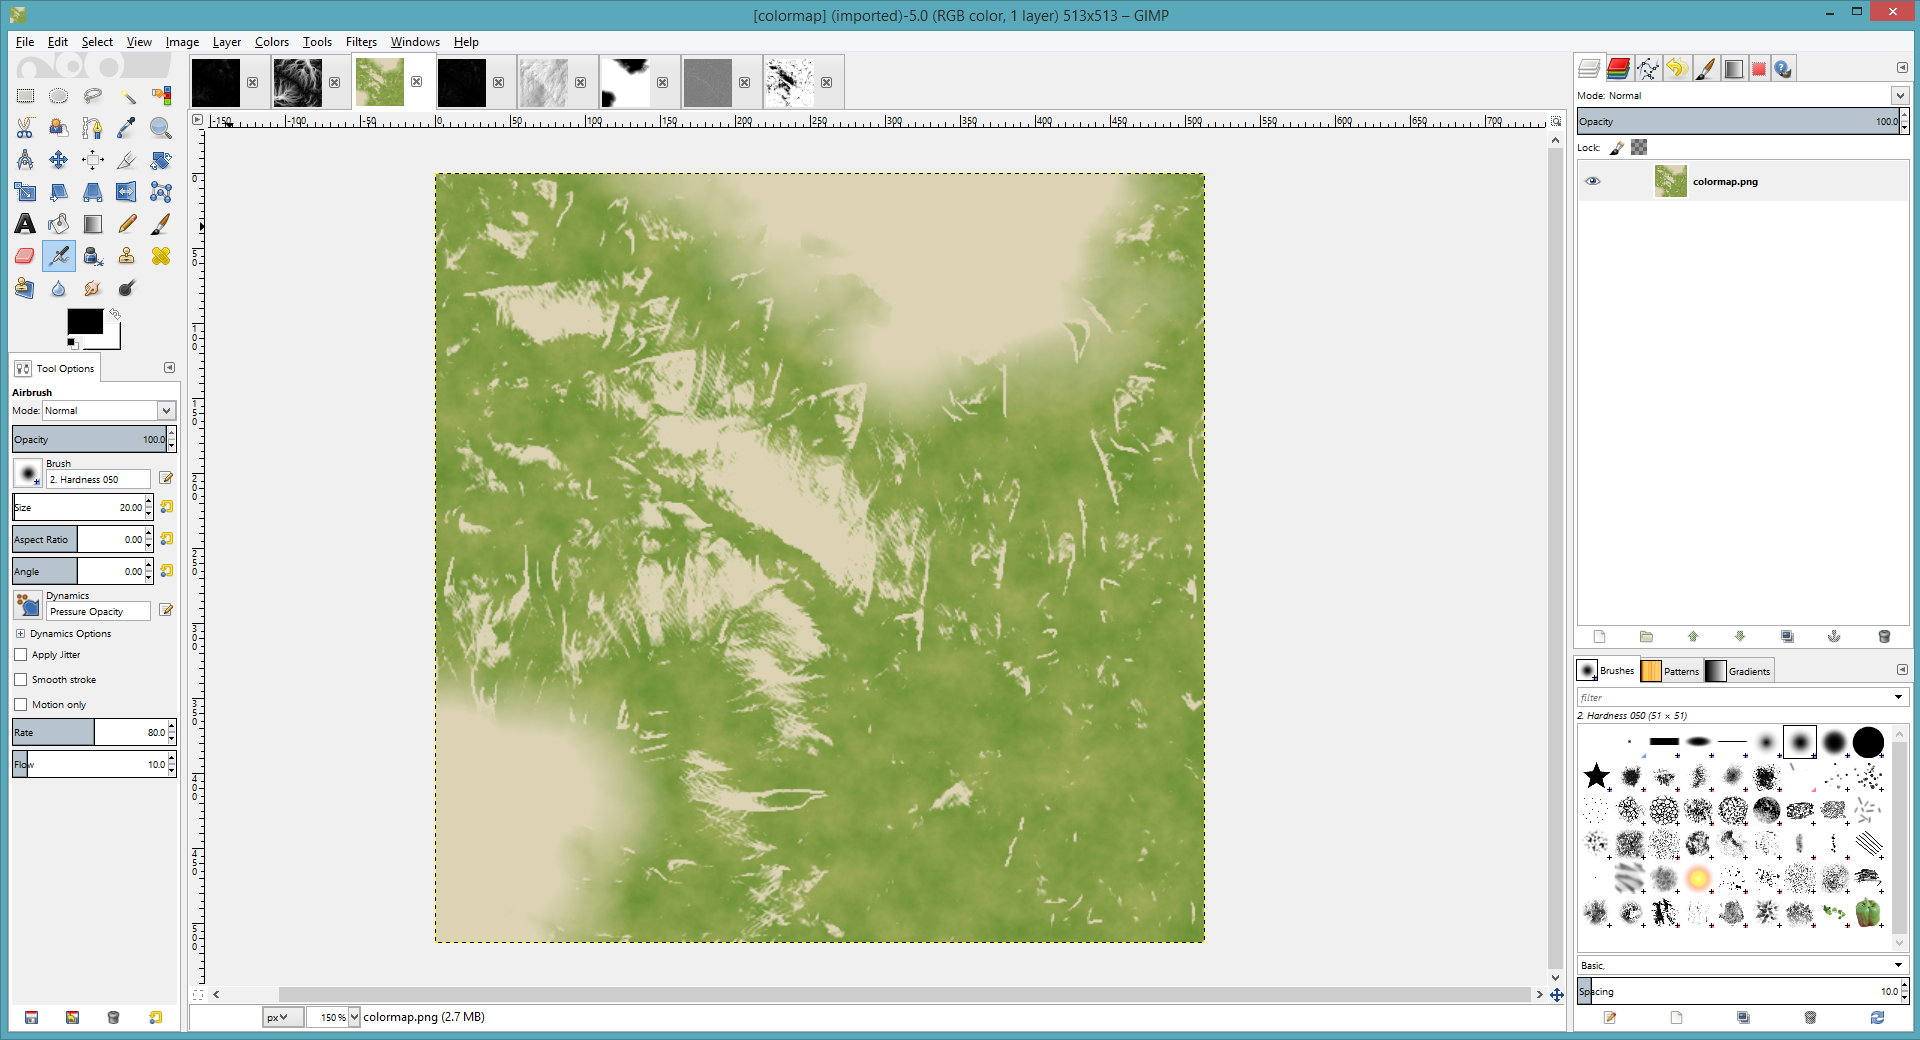
The standard Colormap will be the base texture that you work on.
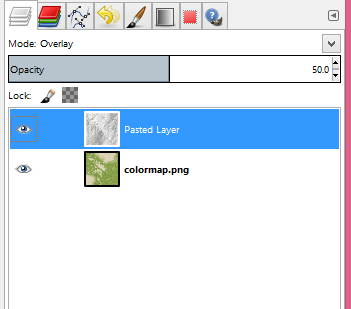
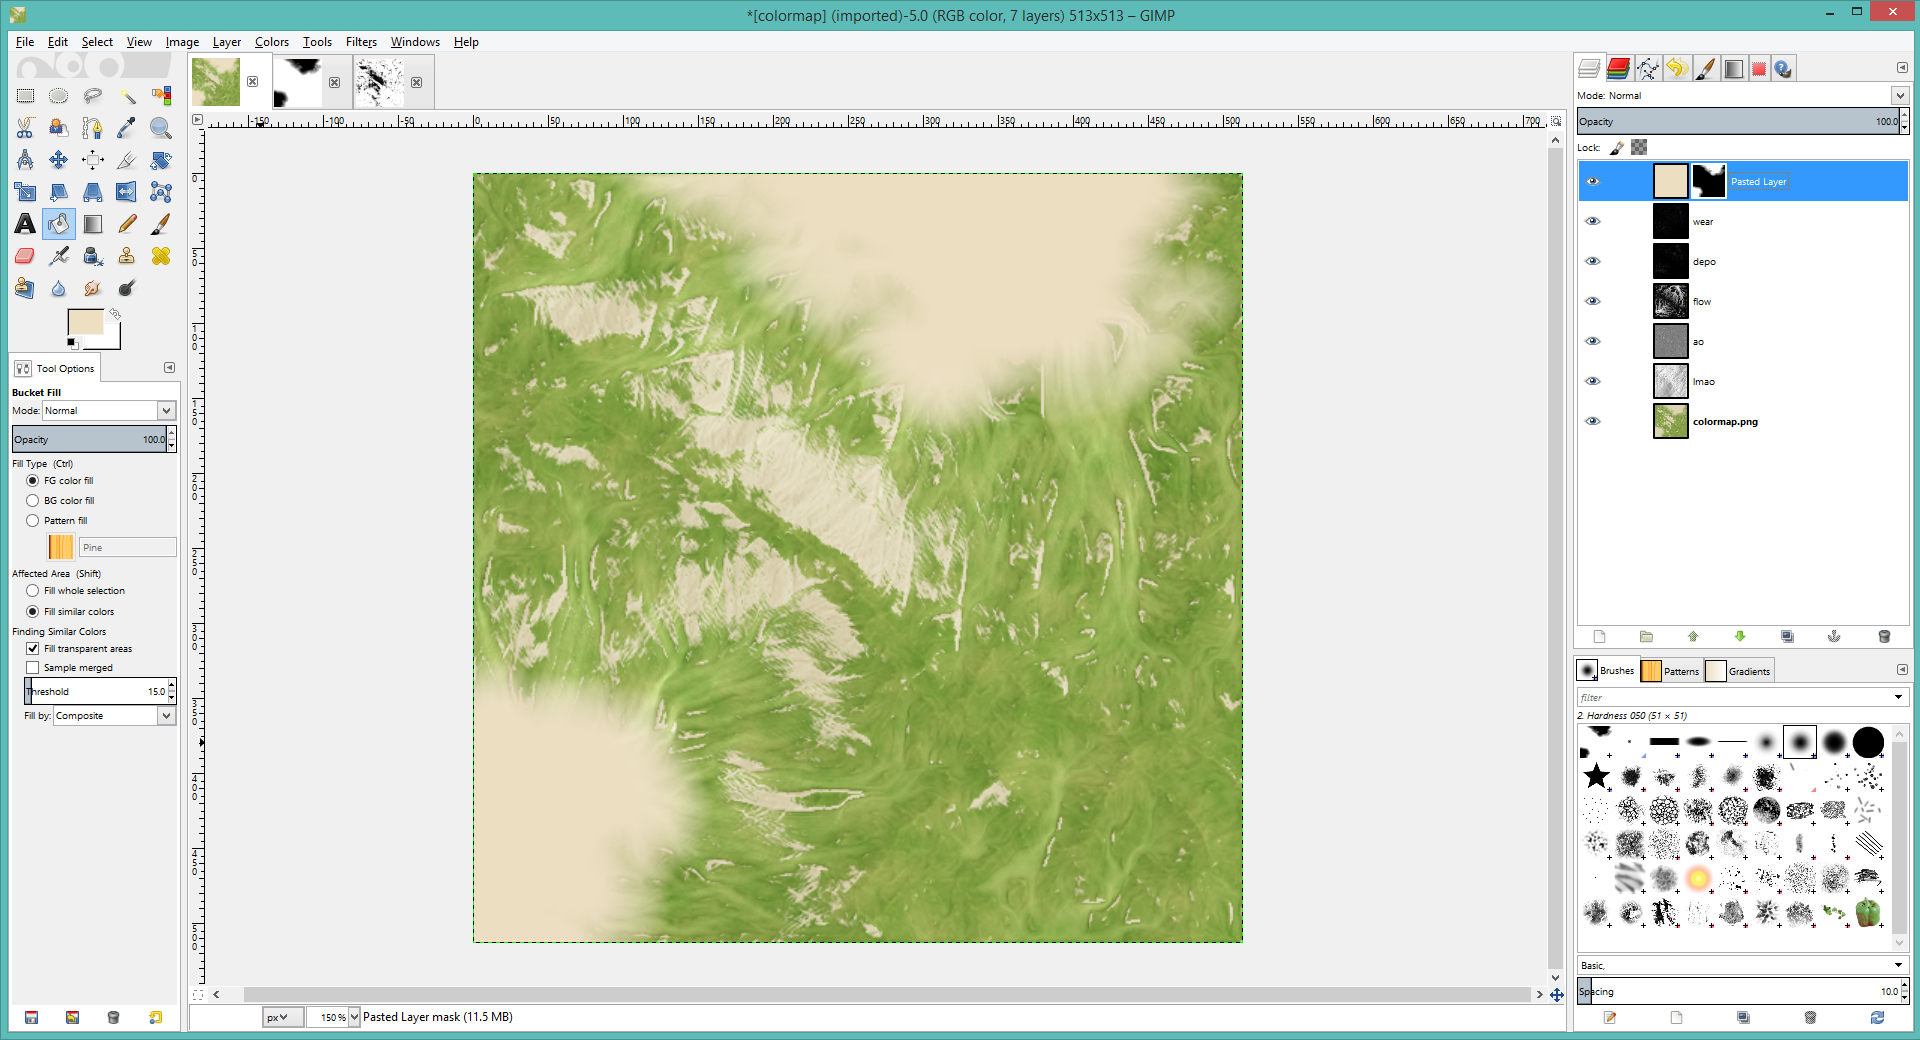
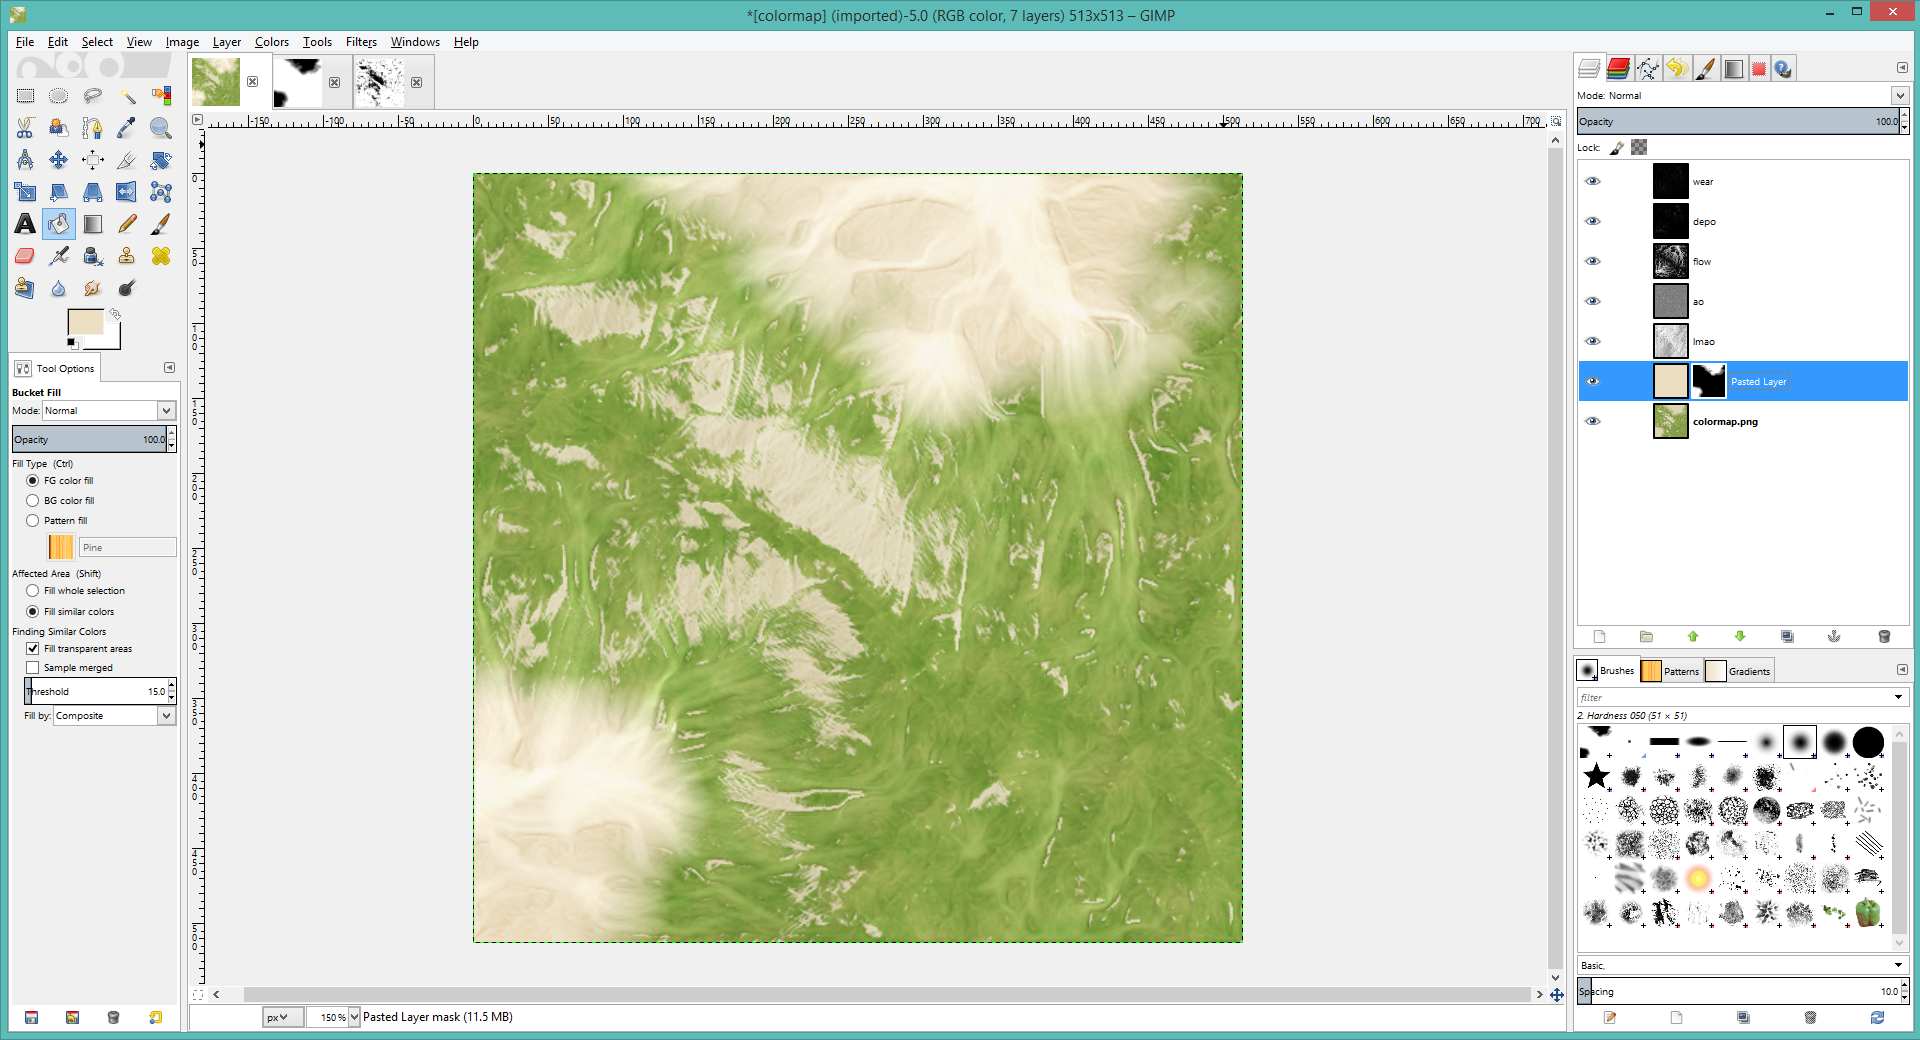
Select the Light Map Ambient Occlusion and paste it as a new layer. Then, select the Mode as Overlay and the Opacity to taste(50% in this case). Continue doing this with the Ambient Occlusion texture and Flow map.
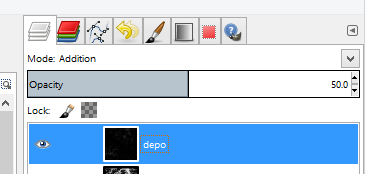
For the deposition and wear map, use Addition and a lower opacity.
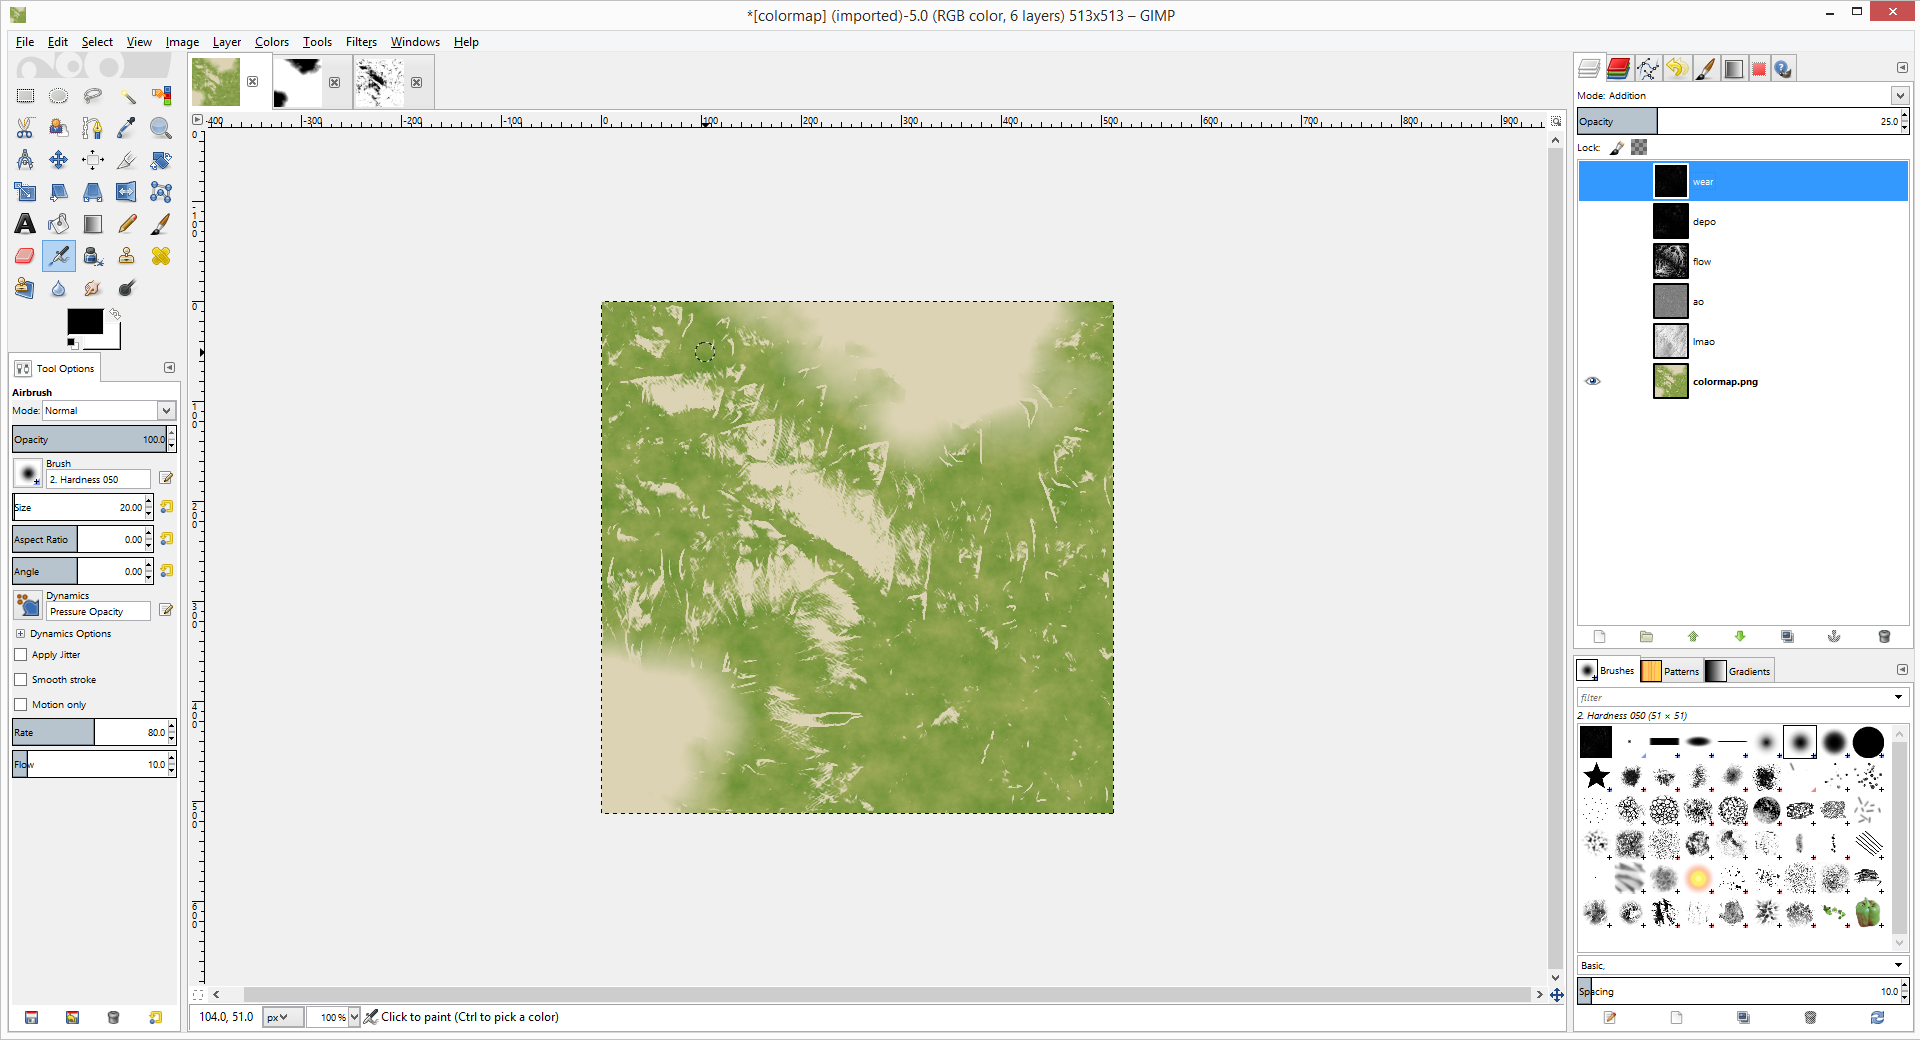
Untouched from the Coastal Overlay
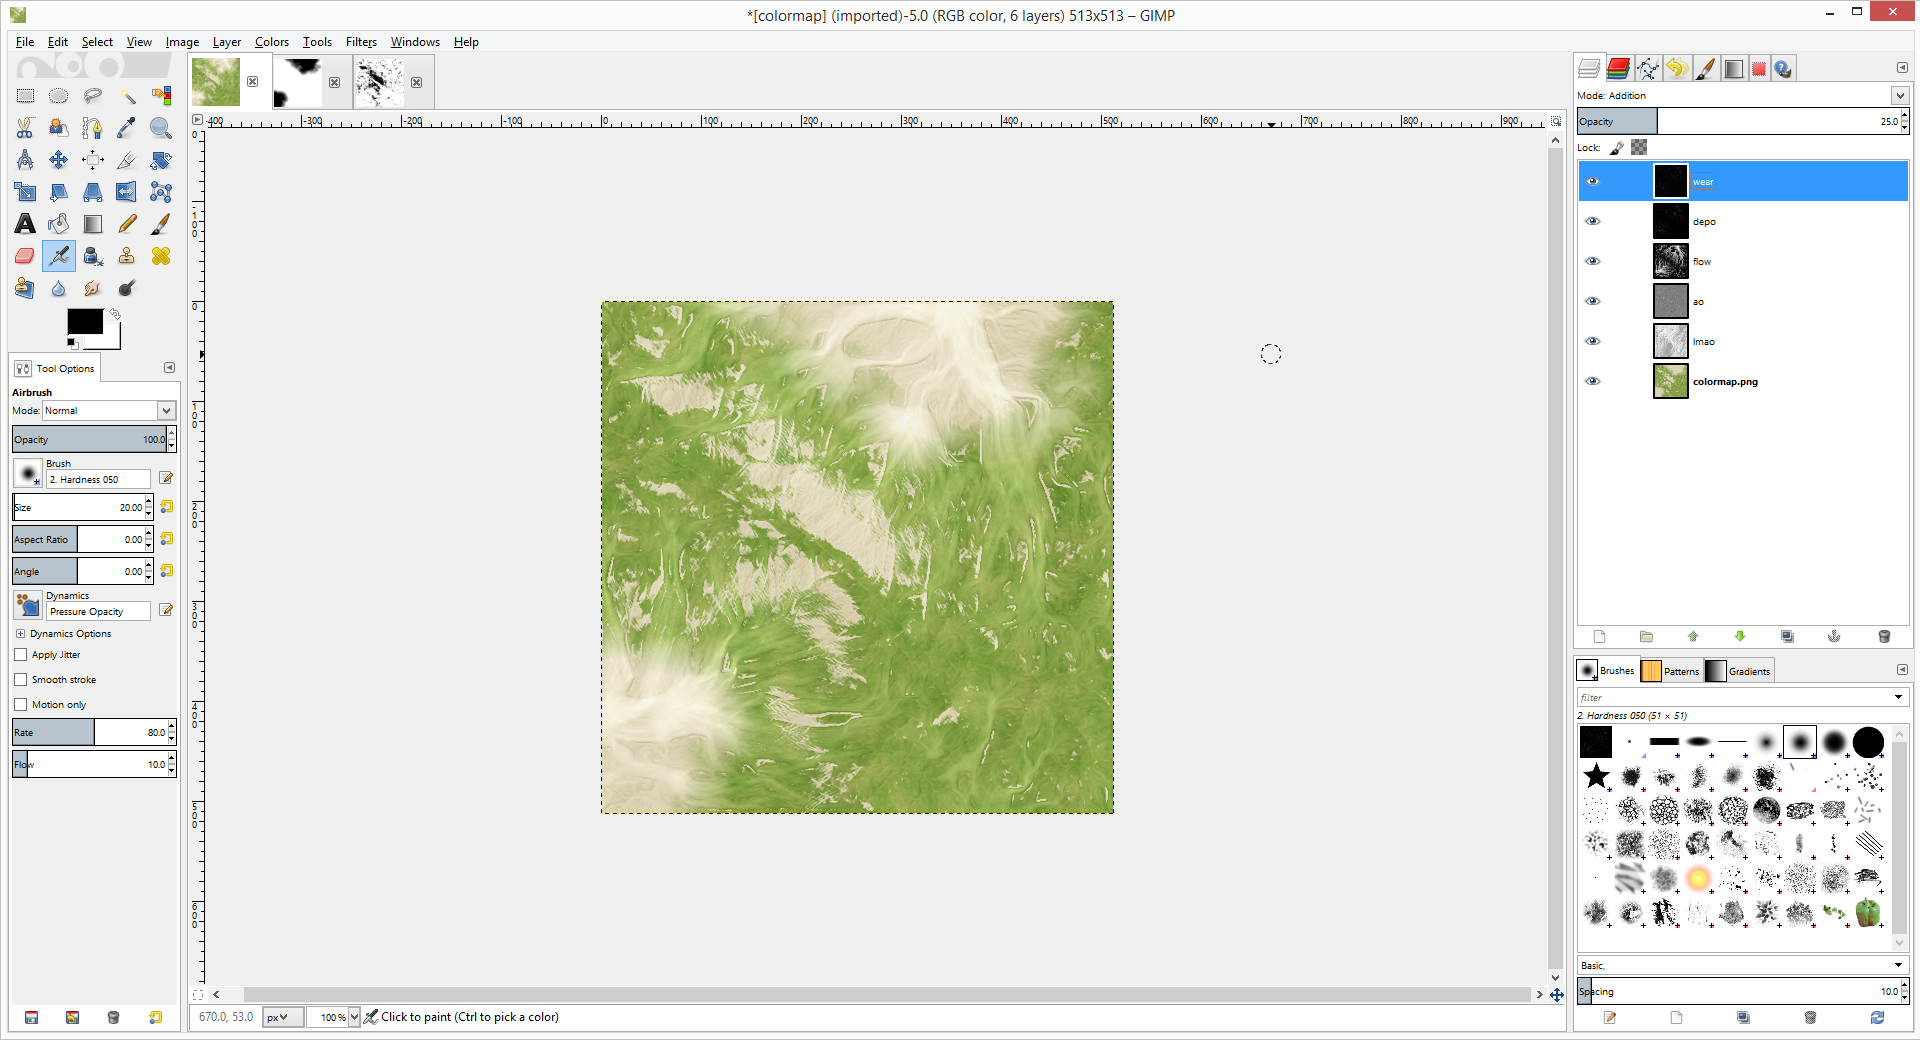
Edited after using GIMP and the generated maps
Changing colors with Masks
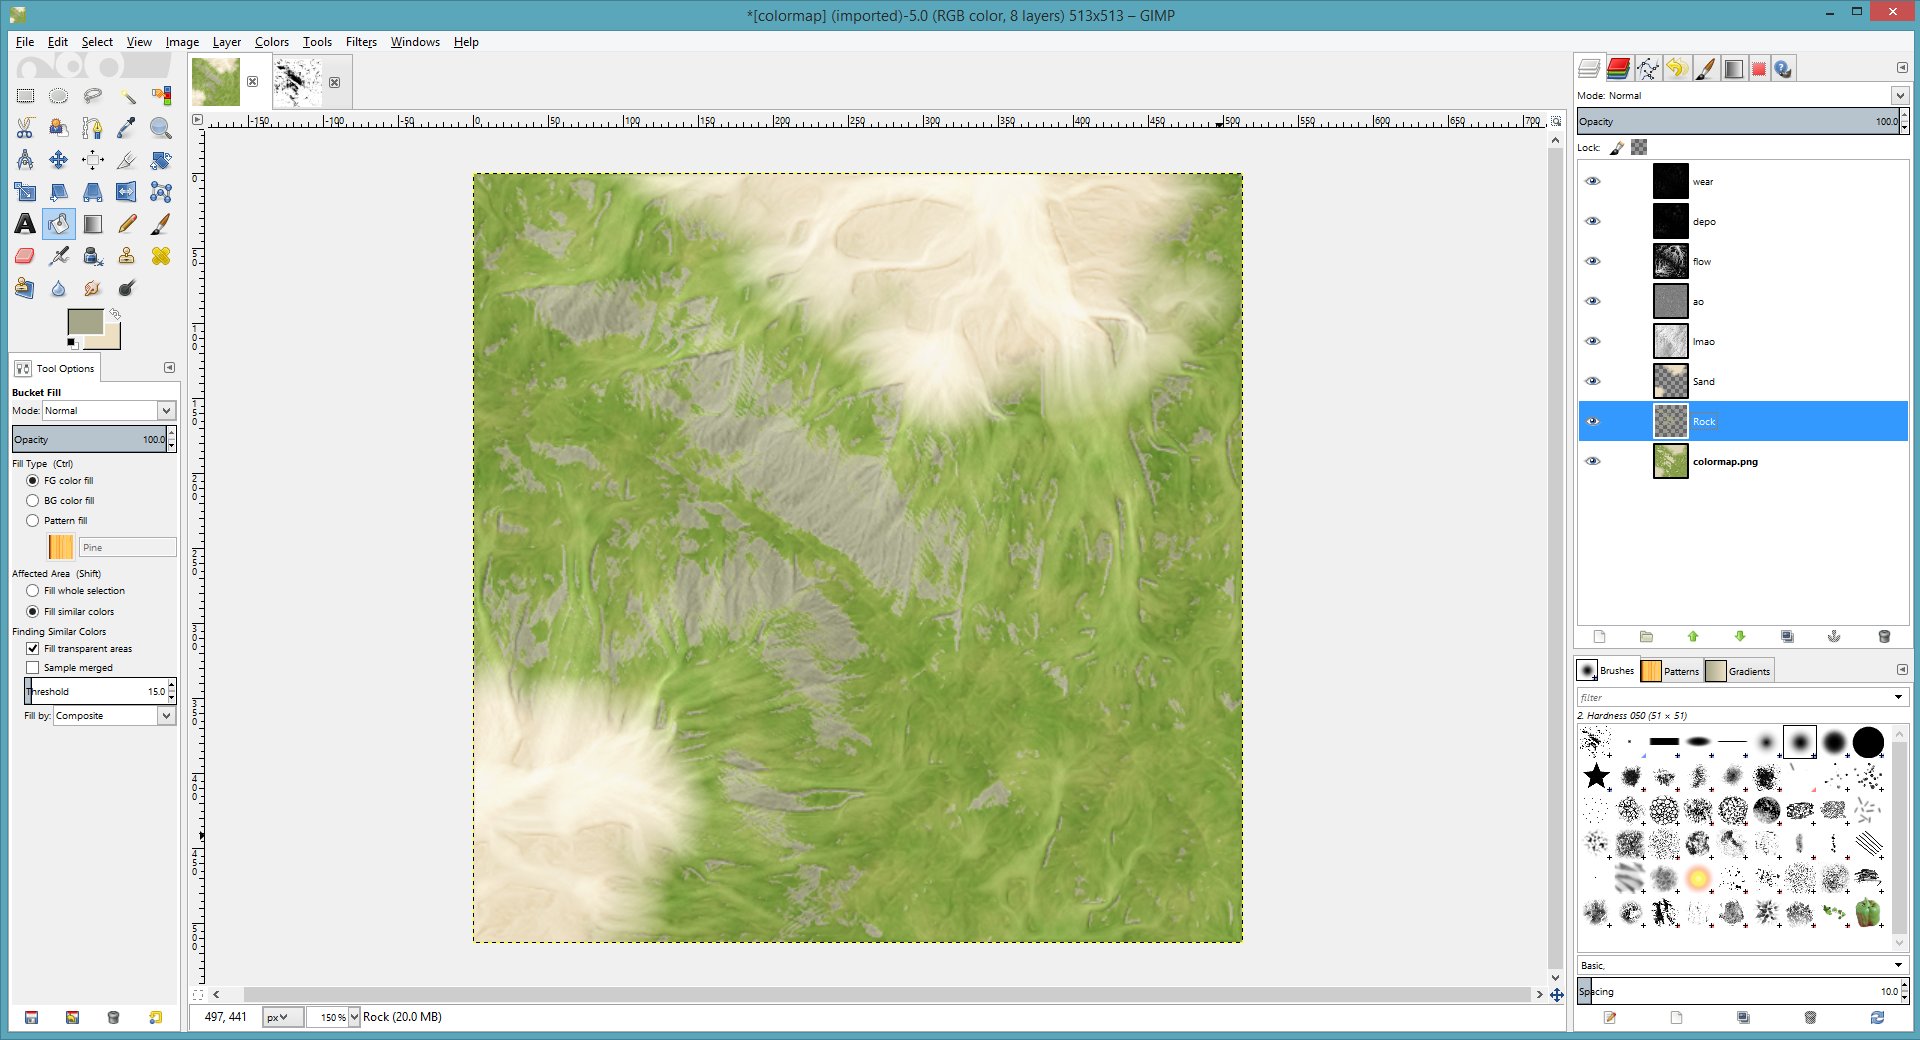
Use the masks from the Coastal Overlay to replace the colors of the Sand, Grass, or Rock.
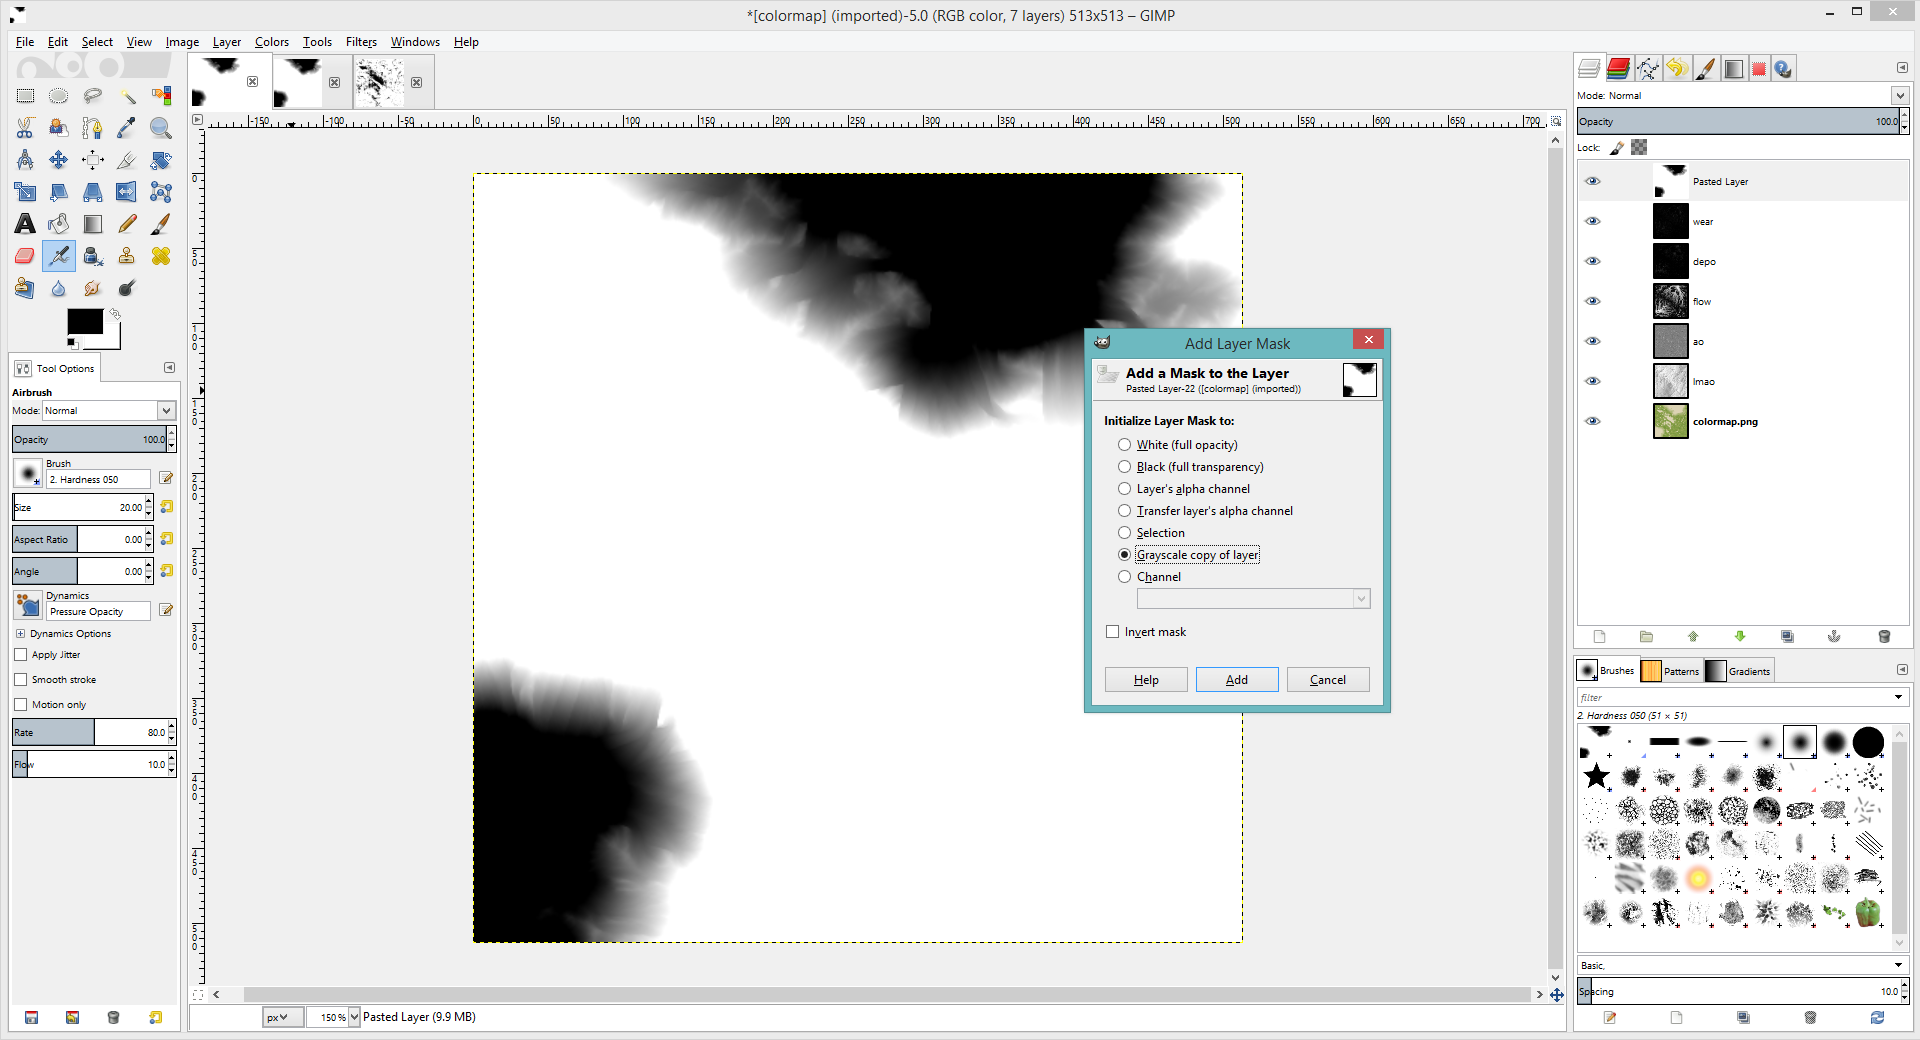
Add the sand mask as a new layer and add a layer mask to it.
Invert the colors and choose a new color to use.
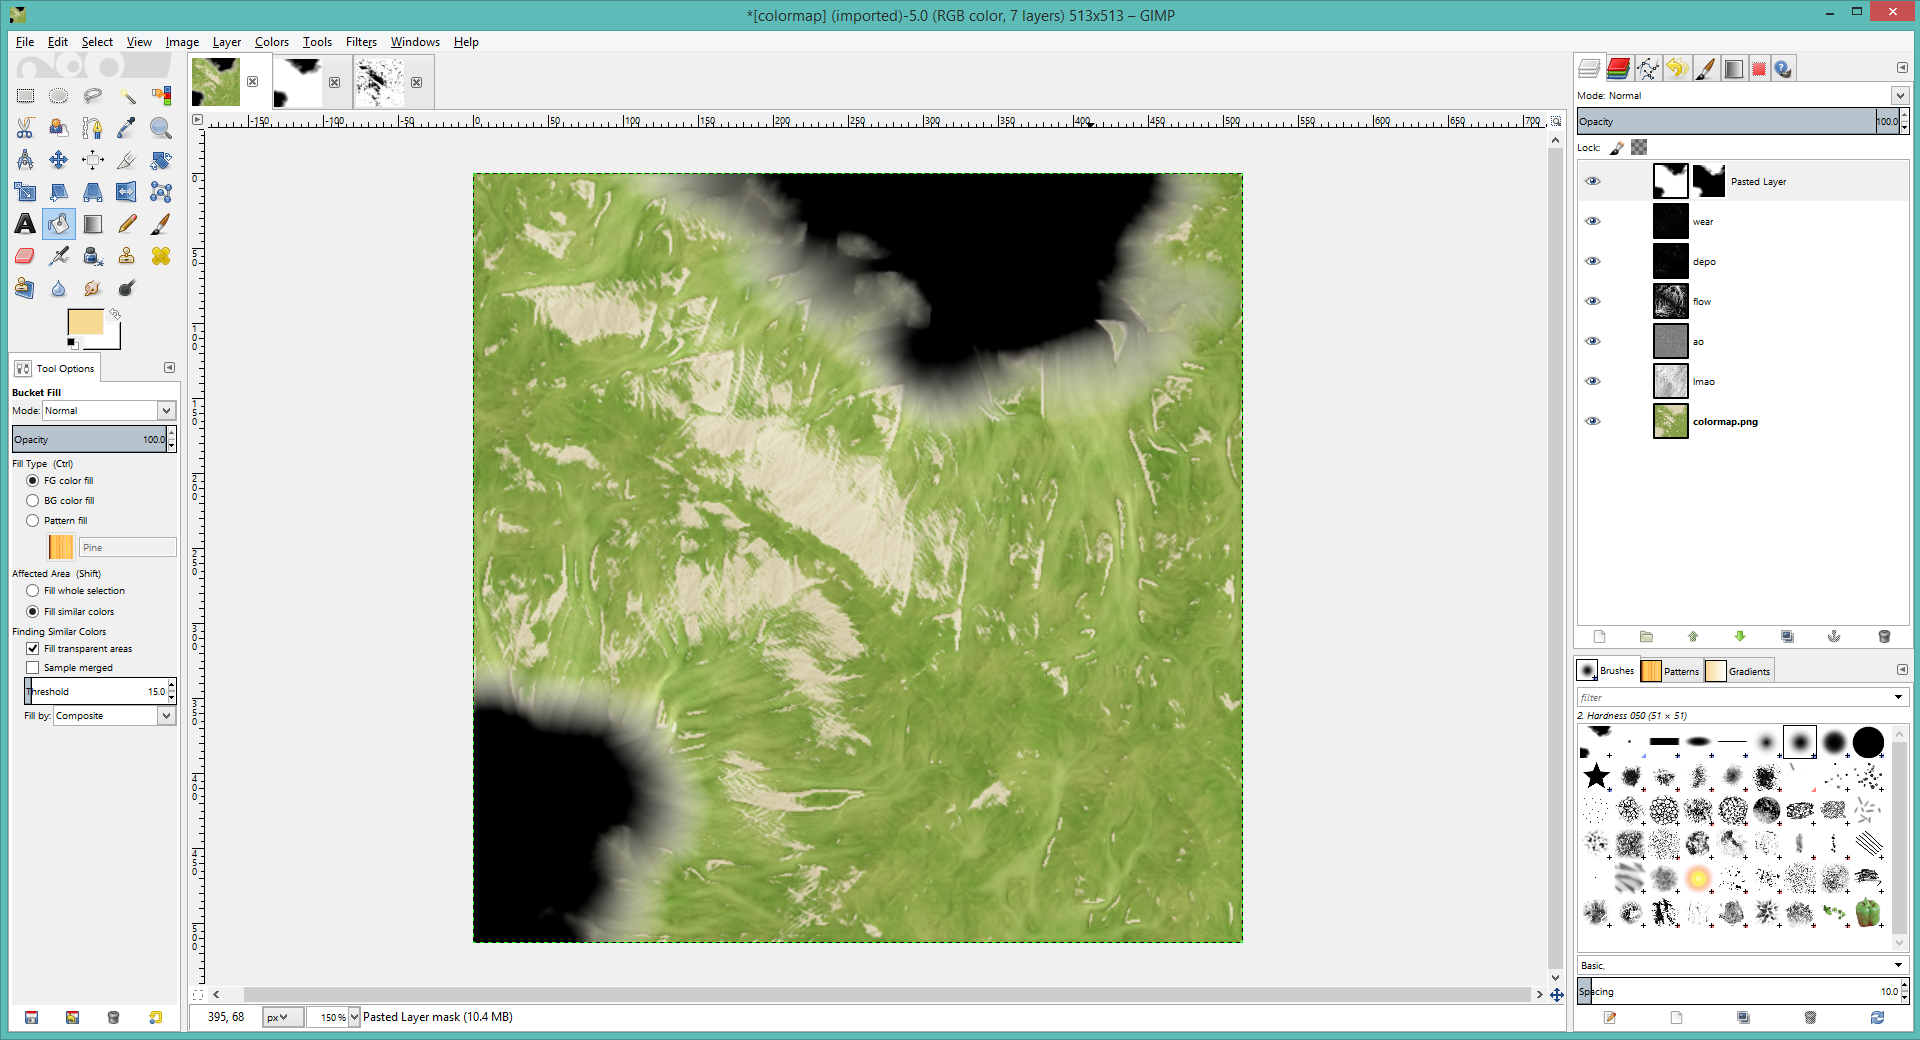
Drag the desired color into the first box of the layer. The color will change.
Drag the layer down in the hierarchy so it blends under the other effects. Do the same process of making a mask with the rock layer.
Export the finished texture as a PNG.
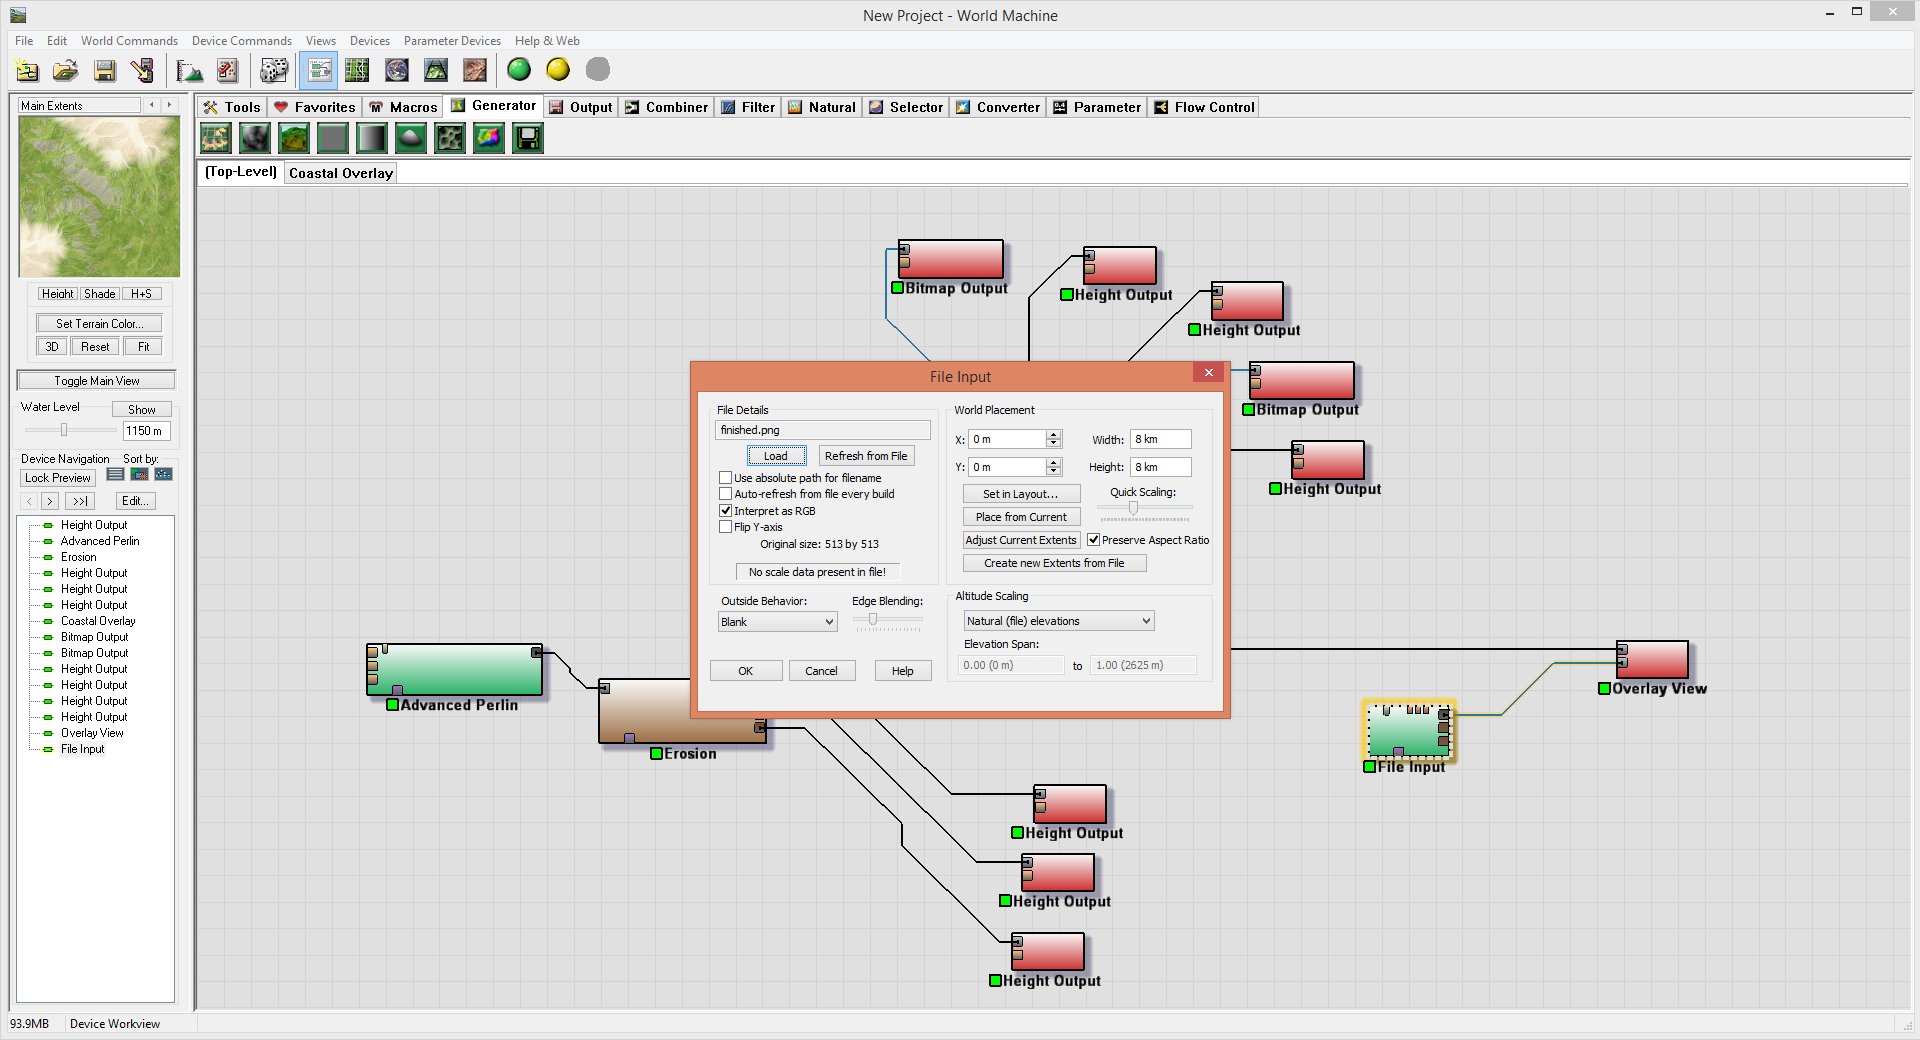
Input the picture in WM and interpret as RGB.

Hook up the Input to a Overlay View to see what your terrain will look like.
Further Readings and References
"World Machine" - http://www.world-machine.com/